
On processing: developing black and white films, and what can go wrong
There are plenty of guides explaining how to develop black and white film. There are books too. French speakers: the best source of information is Philppe Bachelier’s classic “Noir et Blanc”. On my shelves there is also The film developing cookbook which is good but I prefer Bachelier’s book.
So why yet another guide? Well, one of the wonderful (I mean it) things about film is its unpredictability. Things will not always go perfectly. Here, I wanted to write down a few things I’ve learned myself over the past few hundred rolls. At the same time, I thought it would be a good idea to centralise some of the most useful information I’ve found. You see, after all this time talking about film a few friends have said to me, well, I’m interesting in developing film, do you have any hints? Great! Of course, this text is not meant to be prescriptive. This stuff may not work for you, yes, it may burn down your house and eat your cat. The thing about film development is there are a lot of variables, and unfortunately experimentation is essential. But here’s what I’ve learned…
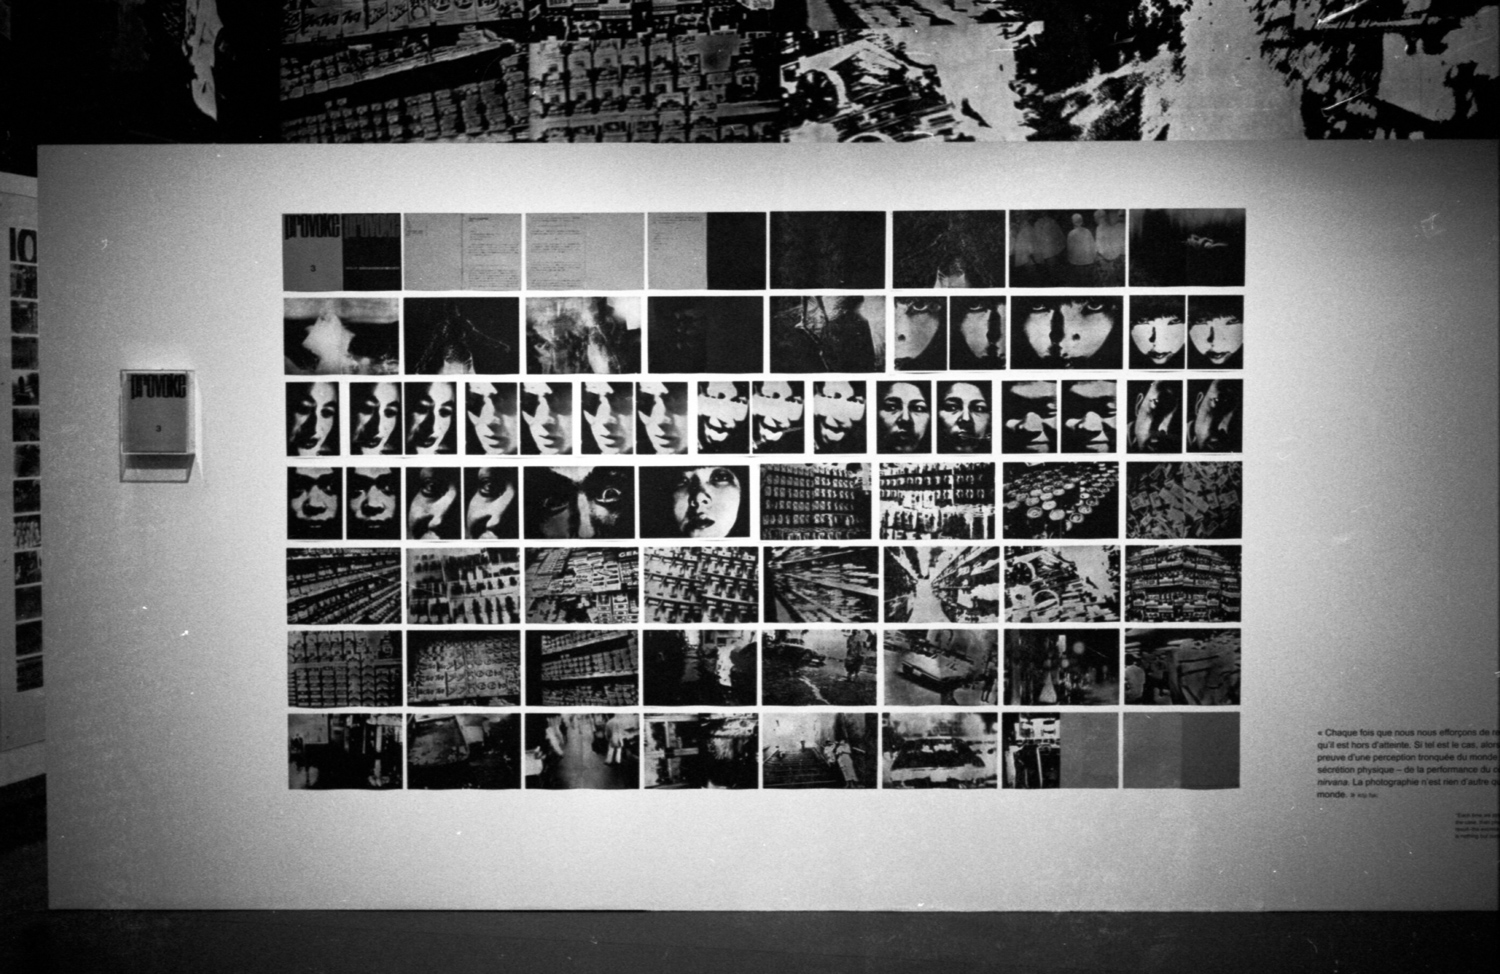
So, if your aim is to get a perfectly developed negative free of blemishes and artifacts (i.e., you are not a Japanese photographer making photographs for Provoke magazine in the 1970s), then here are a few hints. I am assuming you know about the basic steps: loading the tank, developing, stop bath, fixing and washing. That’s easy (and the Kodak and Ilford website have a mountain of great information like this guide for example). But there is more …
Some general comments about developing and agitation
It’s important to select a development time which is at least five minutes or longer: shorter times are difficult to control accurately because you may spend a significant fraction of that time filling or emptying the tank. To figure out your times, the Massive dev chart is a good place to start as any, although adjustment will certainly be required. I keep a note on the computer where I record times and agitation for every film I develop, and this has been fantastically useful understanding when things go wrong.
Also pay attention to the minimum amount of chemicals required for development (e.g, you need around 6ml of HC110 and 6-10ml of Rodinal per film). Check the manufacturer’s data sheet for your developer. This means that for higher dilutions, i.e, 1+50, you may need to put in more water than is needed to cover the reels. It may not be obvious how to select the correct dilution, but for HC110 at least, with the equipment I have, I selected the dilution based on the size of the tank and development time I wanted. Changing dilutions does not seem to affect the contrast for me (the same is not true of Rodinal). Note, of course, that this developing should be done a standard solution temperature of 20 degrees (which you can check with a cheap digital thermometer). This is about right for Paris, where the tap-water usually comes out close to this temperature.
Each manufacturer has a different recommendation for agitation, which is how the film development tank is turned during processing. As everyone says, pick a scheme and stick to it. For shorter development times (5-6mins), it is a good idea to agitate for at least one minute at the start of development, because you may spend a lot of that time filling in the tanks and (as I have found) this can lead to uneven development (this is the Anchell and Troop recommendation).
There is some debate as to whether or not there film should be soaked in water before developing, with some manufacturers (Ilford) suggesting that it’s not a good idea. I have not pre-soaked my films, but it might be useful if you have uneven development. Pre-soaking, as far as I can tell, can only do harm with special developers like Diafine.
Fixing and washing
I re-use my fixer and stop-bath. However, after the first forty or fifty rolls, I found it was better to use disposable bottles for the fixer (I use well-cleaned opaque plastic milk bottles) instead of always storing it in the same bottle. This is because you may get some silver in the bottom of the bottle, and if you are not careful these silver specks can end up on your film. You cannot wash them away, they adhere to the negatives. Worse, if you decide to dry your film with a squegee, it will scratch the film. So, when it’s time to renew the fixer after about 15-20 rolls, throw out the bottle and use a new one. You can find if your fixer is expired by doing a test like this.
Note added later (January 2018): After discussions with experts, the black spots and fixer precipitation that I talk about here are caused by using expired stop bath. I’m using Tetenal’s Indecit, which is supposed to change colour when it’s time to change the bath: but it doesn’t, really, and I realise now that I have been using weakened stop bath. If you do this, by the time you get to the fixing stage, there is still enough active developer around to precipitate out the fix. Solution: change the stop bath after every 15-20 rolls.
I use plain tap water for diluting all my chemicals. I tried distilled water but it doesn’t make any difference to development for the developers I use. However, in the very last step, it helps a lot to use distilled water for the final rinse with a wetting agent. For this, I buy five-litre containers of demineralised water in the supermarket (filtered tap water doesn’t work as well). This step ensures that there are no drying marks on the film from carbonates in the water. And remember, I said do not use a squegee? Simply shake the reels when you take them out of the tank and then hang them up to dry.

I have tried different schemes for washing the film at the end of the processing. However, in the end I have switched to the “Ilford” method, which is fastest, and seems to work well: fill the tank, invert, dump, fill the tank and invert 5 times, dump, repeat for 10, 20 times (or less if you are less paranoid). The advantage of this method is that it uses less water, is faster, and additionally you can easily control the temperature of the water you are using for rinsing (running water from a mixer tap is hard to control).
Drying
My most-used film is Kodak’s Tri-X, and this has a habit of curling in the perpendicular direction to film. Sometimes this curl so strong that at the end your film looks like roof tiles on a house in Provence. This adds a second, lengthy step of putting your negatives under heavy books, for several hours, preferably containing good photographs. The internet has a few suggestions as to why this happens, but it seems to be related to the speed and temperature at which the film dries. I’ve found that not washing the film in super-cold running water and ensuring that it dries as slowly as possible helps reduce the curling. So don’t leave the bathroom window wide open.
Summary of things which have gone wrong … for me
Here’s a description of all the things I have had personally go wrong with my development. Of course there are even more things which can go wrong, this list is not meant to be exhaustive. Hairs and dust are the most common things you see on the negatives: I have found you can minimise this by passing a lint-free cloth over your scanner glass (if you are using a flat-bed scanner) every time you scan a new film. Small occasional defects like these can easily been removed in post-processing in Lightroom, they are obviously more problematic when printing, so carefully examine your negatives before putting them in the enlarger.
| What it looks like on the negative | What causes it | How you can fix it |
|---|---|---|
| Many small black dots randomly distributed over the frame | Silver particles contaminating the final wash | Use new bottles when you replace your fixer |
| Small black crescents | Film was bent during loading | Be careful! |
| Large fuzzy black spots with holes | Water drying spots | Use distilled water in the last washing step with photo-flo |
| Uneven density | Insufficient agitation Agitate more | Agitate more |
| Film is still slightly pink or not completely clear after washing | Insufficient fixing | Fix longer, or renew your fixer |
| Very large black blobs filling the whole frame | Film was loaded incorrectly and film was touching in the spool | Load the film correctly |
| Long straight lines | Film was scratched, either during loading or drying | Be careful ! |
How can you tell if you have done it right?
So, the last question: you have developed your negatives, and they are clean. How can you tell if you have done it right? This is the hardest thing to learn: how to distinguish between underdeveloped, overdeveloped, underexposed or overexposed film. In addition, scanning the negative can hide many things that can go wrong, because if you are not careful the scanning software will equalise all the intensity levels. Your negative overexposed by five stops will look (almost) normal, but will be very hard to print in the darkroom.
This is a great description about how to assess your negatives, with examples. This is another reason why simply looking at scans on the internet mean that it is very hard to tell what any particular developer and film combination looks like. Again, of course, it depends on your artistic intention, but in general preserving details in the shadows and not blowing out the highlights depends on finding the right balance between exposure and development time.
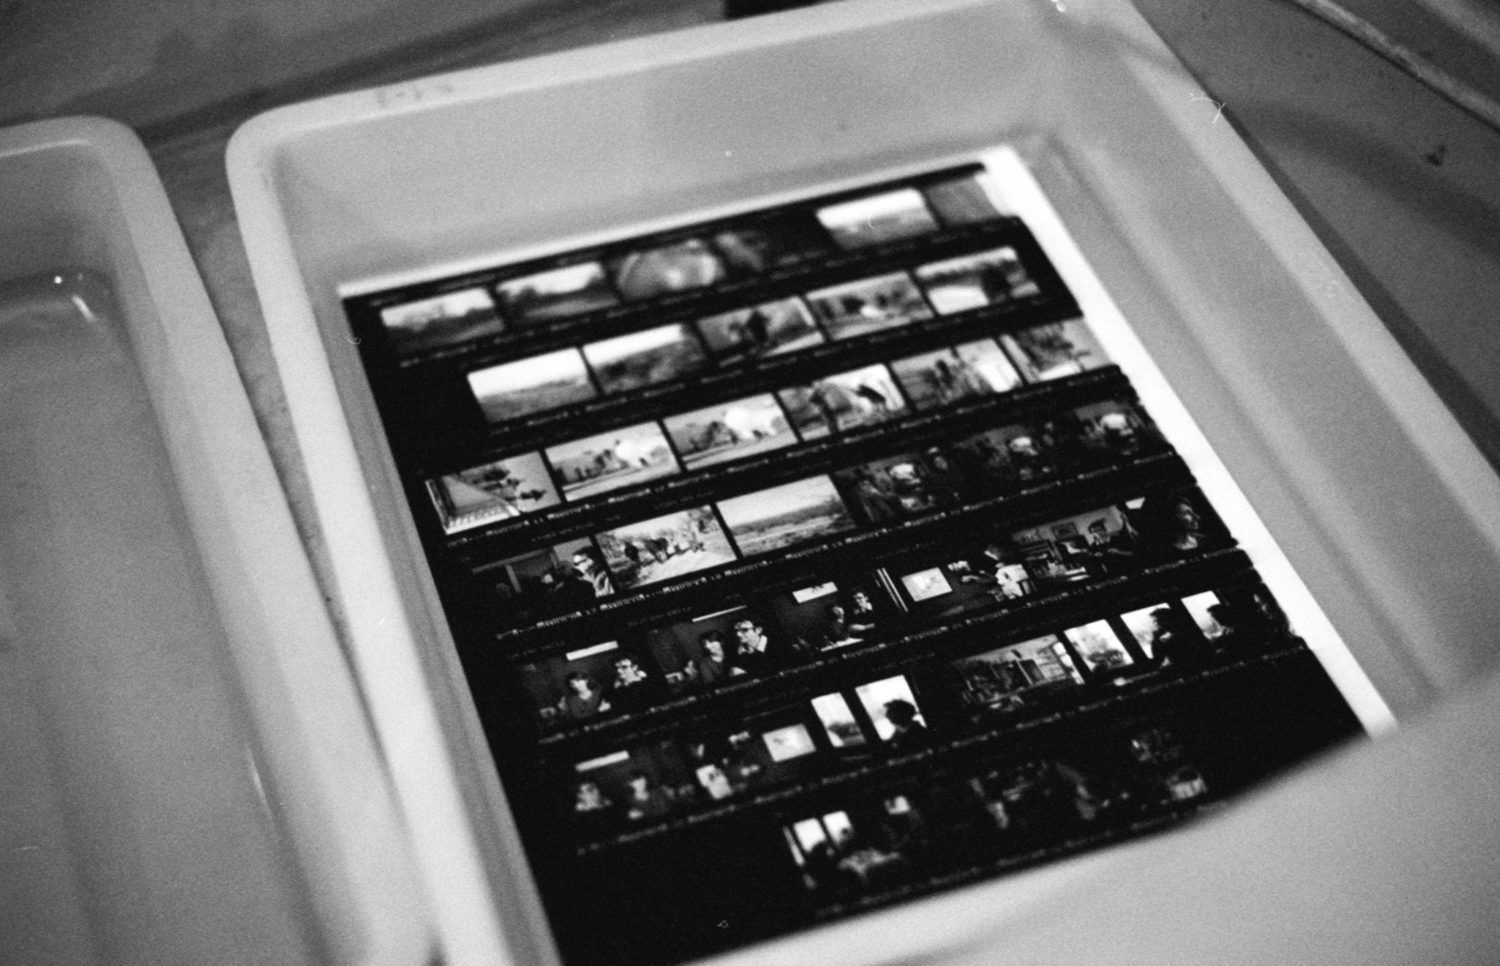
The best way to figure out if you have correctly exposed and developed your film is to make a contact print on “Grade 2” paper, where the contact print is exposed to ‘maximum black’: the darkest part on the image must correspond to the same black level as the film sprocket holes. This is the definitive guide from Tom Halfhill. I’m lucky to have access to a darkroom, and I try to make at least one set of contact prints for each developer and film combination that I try. For darkroom printers, your aim in developing and exposure should be simply to make a negative which prints with normal contrast (good shadow detail, highlights which are not blocked) on grade two paper.
Parting words
Starting out, I hadn’t thought to write quite as much as this. But I hope it’s useful to someone, somewhere !